 This week I was lucky enough
to receive expert tuition for my bake, from a certified teacher no less! My
friend Karlie came round to teach me how to make cake pops, now she is a
teacher, a Primary School teacher rather than a cookery or baking teacher, but she
does have bags of patience and a very official sounding teacher voice so I was
convinced by everything she said!
This week I was lucky enough
to receive expert tuition for my bake, from a certified teacher no less! My
friend Karlie came round to teach me how to make cake pops, now she is a
teacher, a Primary School teacher rather than a cookery or baking teacher, but she
does have bags of patience and a very official sounding teacher voice so I was
convinced by everything she said!
Karlie went to a cake pop
tutorial at an Edinburgh bakery a few weeks ago so she came fully equipped with
the skills and knowledge to teach me and my friend Rebecca how to Pop!
I volunteered to provide the cake and Karlie provided the toppings/decorations and cake pop sticks. I was advised (by Karlie and a bit of Googling) to bake vanilla/Victoria sponge as the cake base because the toppings would add lots of flavour and sweetness. I also had to make a batch of butter cream to act as the binding agent. For this I used my reliable Vicky songs recipe (see Week 36) which came up a treat as always. We were then led through a step by step process by the cake pop master, which is summarised below.
1) Bake cakes and leave to cool
2) Once cooled crumble cake into a fine breadcrumb texture. We did this with our hands but if you have a good processor you could give it a quick whizz in that instead to save a bit of time.
3) Mix small amounts (we did it about half a tablespoon at a time) of butter cream into the crumb mix to make a sticky consistency.
4) Once the cake is sticky enough to form a small ball that's doesn’t break when rolled between your hands (see photo). This means the cake is then ready to form the pops. Roll the crumb mixture into small golf ball sized balls and place on a lined baking tray. Our standard Vicky sponge made our 21 cake pops (we only had 21 sticks!) with a bit of cake left over to snack on so I think it would probably be perfect to make a batch of 24.
5) Dip the cake pop sticks in a small amount of melted chocolate and push into the cake balls. We were carefully instructed by Karlie to push the stick almost all the way down through the cake to ensure its stable.
6) Place the cake pops in the freezer for 20 mins to harden.
7) Once the cake has hardened they are ready to decorate... this is when the fun really started!
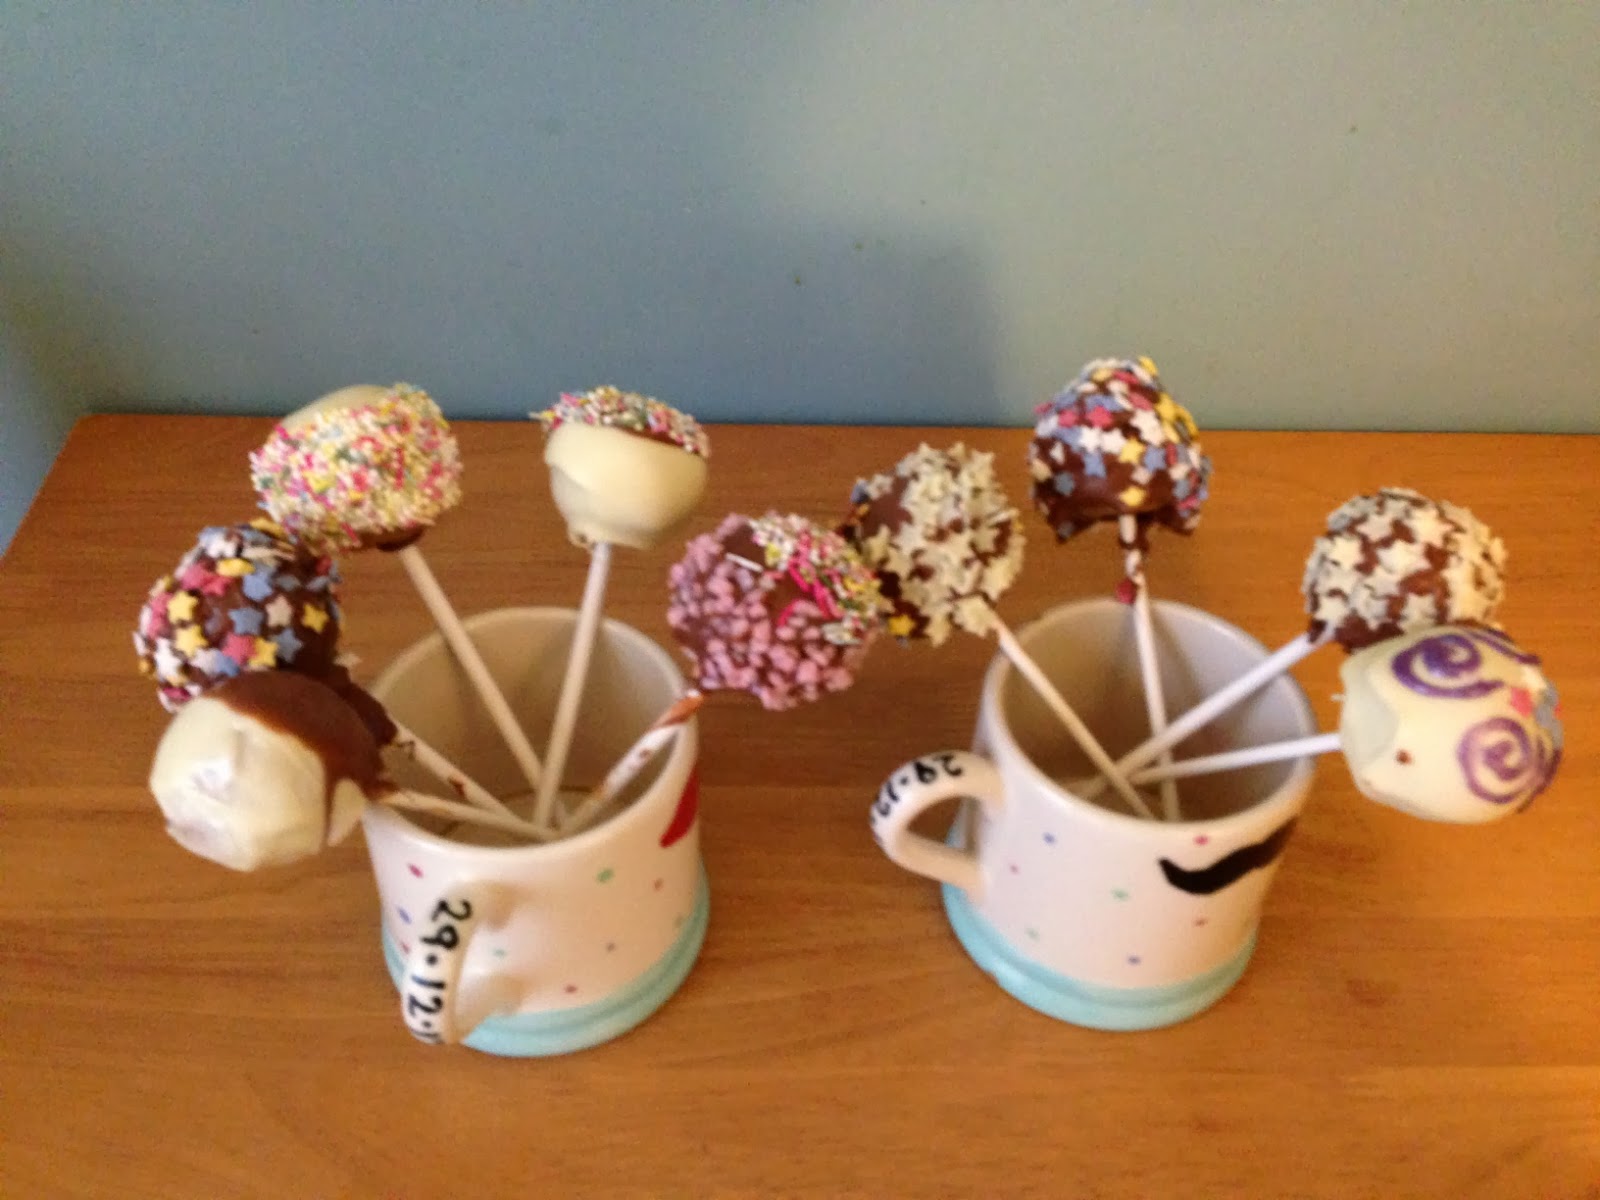
8) Melt the chocolate and leave it to cool slightly before starting to drip the pops. Dip one pop at a time in milk/white chocolate and then immediately decorate with sprinkles/popping candy/chocolate stars or anything you like.
9) Leave to dry in a cake pop rack, or create a makeshift one from a large shoe box like we did!
10) Sit back, make a brew and wait for them to dry.
11) Tuck in!!
We had a great time! We even let the husbands get in on the decorating action after their round of golf. We all had a great time, I think it would be super fun to do with kids (as you can see some of our efforts look like they were in fact done by small children), if a bit messy.

 The white chocolate was
better to dip with because it dried quickly but it did make for a very sweet
cake pop once you added surgery, e-number filled sprinkles on top too. It might
be better to try with dark chocolate and see how well it dries and it might
give a better sweet/bitter ratio.
The white chocolate was
better to dip with because it dried quickly but it did make for a very sweet
cake pop once you added surgery, e-number filled sprinkles on top too. It might
be better to try with dark chocolate and see how well it dries and it might
give a better sweet/bitter ratio.
I have heard of an
alternative method of making cake pops where you pour the cake batter straight
into a special round ball-shaped baking mould. Our method of crumbling the
cakes makes for quite dense, heavy cake pops so it would be good to see what
the pops would be like if you made them in a mould. It might just make them a
bit lighter so you could eat more of them in one sitting!!

Anyway, I felt like it was an
all round success but I will have to leave it down to the teacher to grade our
work... Mrs Gray please let us know how we did... fingers crossed its A+’s for
the whole class!
Happy baking x Linds x
No comments:
Post a Comment